Applies to: Windows Server 2012 and 2012 R2
Part II
Now with our RD Virtualization Host deployed as per Part I of deploying VDI for RDS 2012, we are ready to publish a Windows 7 pooled VDI desktop. This section will cover the deployment of a pooled desktop and the options available when deploying the desktop. The first thing we will need is a Windows 7 virtual machine. I’ve pre-created this machine along with some applications installed on the image. Once you are done installing applications and configuring the Windows 7 image, we will need to prepare the image for deployment. In order to do this, we will need to run sysprep with the following options.
Before running sysprep, it is a good practice to take a snapshot of the soon to be virtual template. This way should any changes need to be made to the image at a later time, you can simply revert back to the checkpoint prior to running sysprep.
Within the Windows 7 virtual machine, launch sysprep located in: %windir%\system32\sysprep\sysprep.exe
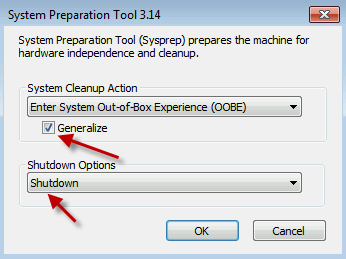
You can also run the following command line:
Windows 7: %windir%\system32\sysprep\sysprep.exe /generalize /oobe /shutdown
Windows 8: %windir%\system32\sysprep\sysprep.exe /generalize /oobe /shutdown /mode:vm
Once Sysprep is completed, it will shut down the virtual machine.
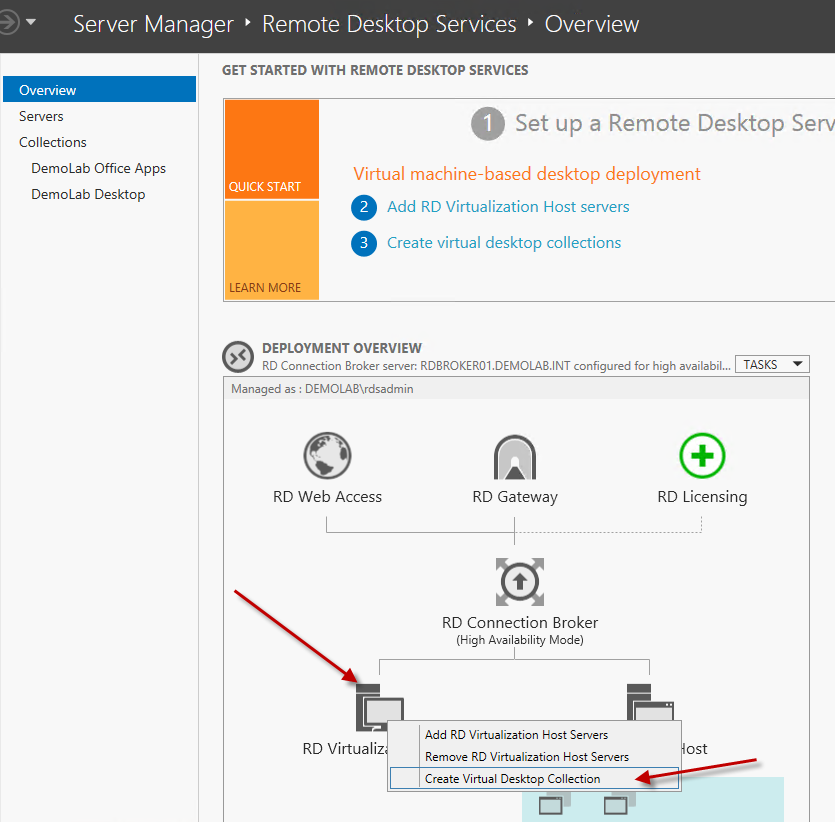
Now that we have our virtual template ready, we will first need to create a new Collection for the Windows 7 desktop. Within RDMS in Server Manager on the Deployment Overview section, right-click on RD Virtualization Host and select the option “Create Virtual Desktop Collection”
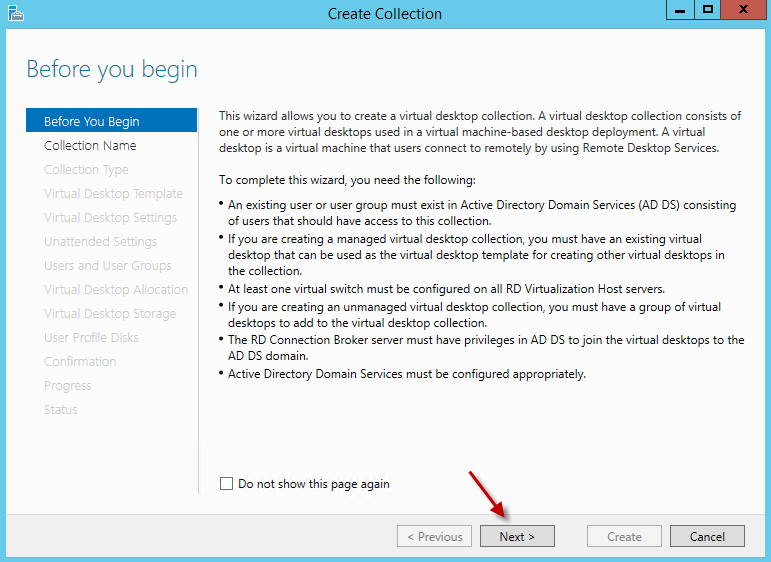
On the Before you Begin Screen, hit next.
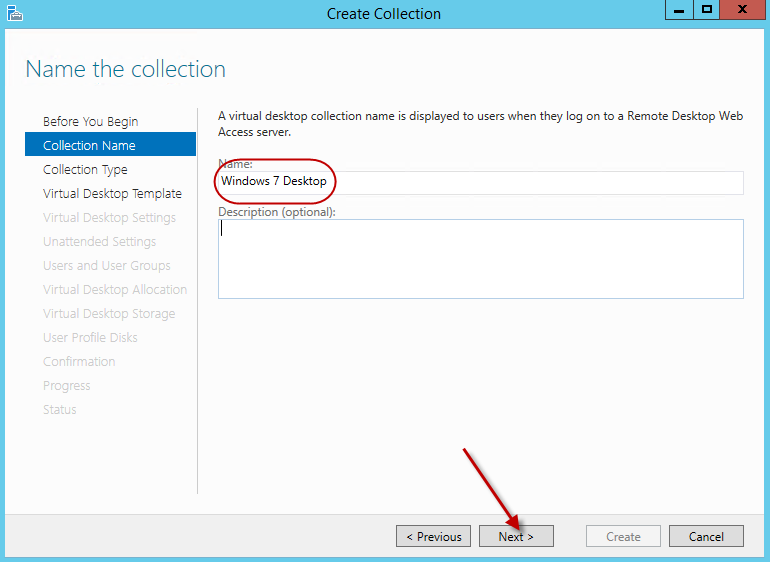
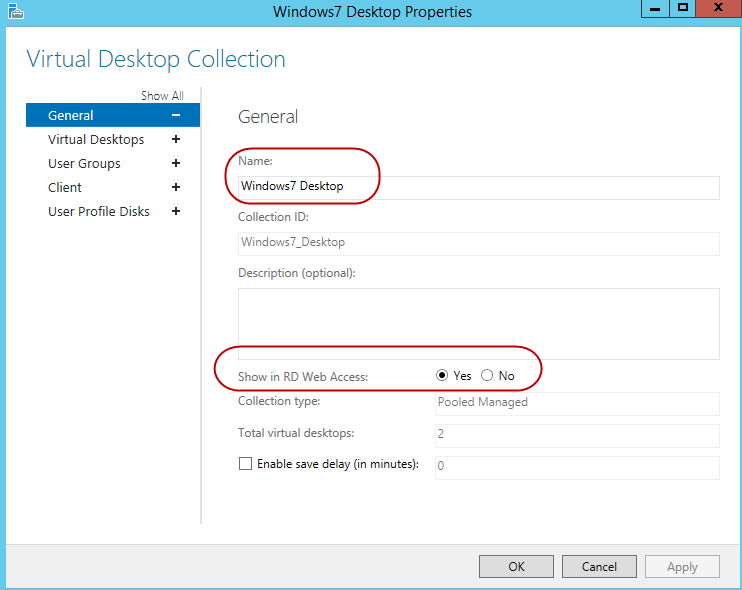
On the Collection Name screen, go ahead and name the collection. Here I named the collection Windows 7 Desktop. Hit next.
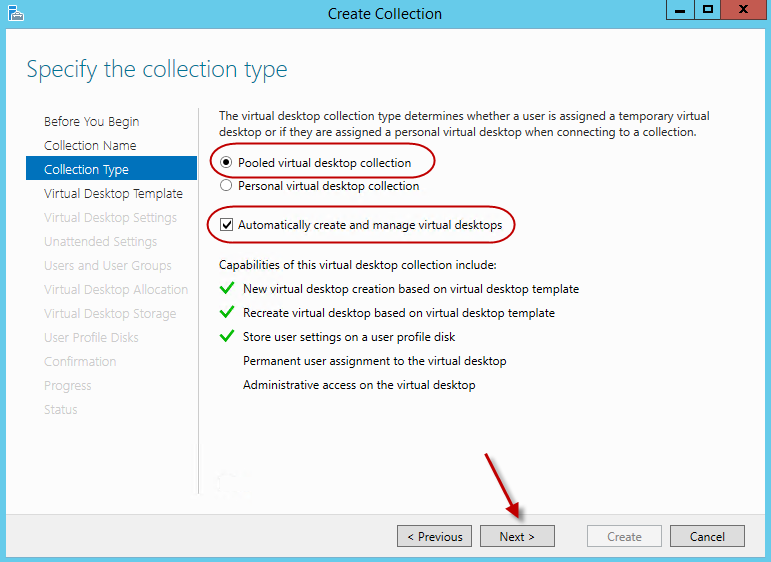
On the collection type screen we are presented with 2 options. One is a pooled desktop and the other is a personal desktop. A pooled desktop is a desktop which is based on a shared desktop image. When a user logs out, the desktop is reverted back to its original state. A personal desktop is one which will be assigned to a user and the user will use this desktop going forward. Any changes made to a personal desktop is retained. For our example, we will choose the pooled virtual desktop collection.
The other option is to allow the RDS farm to automatically create and manage the virtual desktops. When this option is selected the RDS farm will create new virtual desktops based on the virtual template, recreate the virtual desktop based on changes made to the virtual desktop template, and store user settings on a user profile disk. If the option is not checked, it will assume all virtual desktops have already been pre-created and only require an assignment. For our example, we will leave the option checked. Hit Next.
Should you decide not to use user profile disks, ensure some mechanism is in place to store user settings because once the user logs out, all changes to the pooled desktop will be removed.
NOTE: If you play around with the options on this screen, the wizard will display the capabilities of the collection by placing a green check mark next to it.
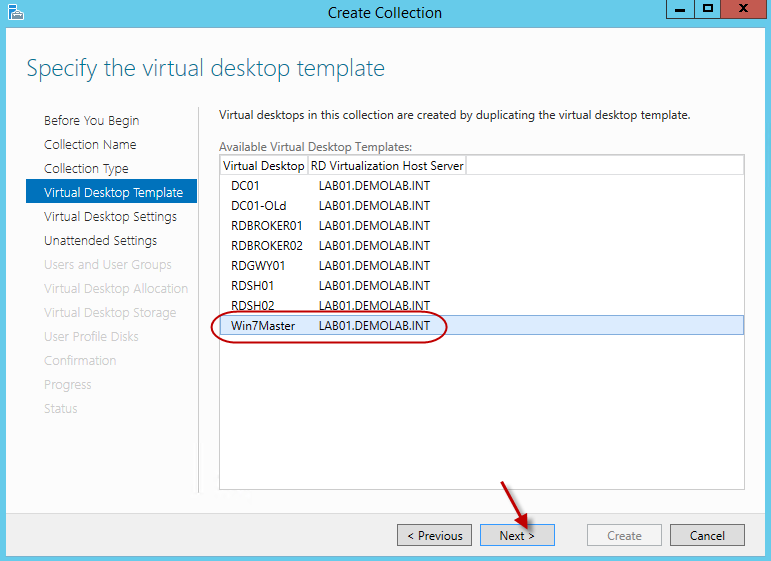
On the specify Virtual Desktop Template screen, select the sys-preped virtual machine and hit next. In our example, the sys-preped virtual machine is called Win7Master. When the virtual machine is selected, the wizard will validate the virtual machine’s status to ensure sysprep has been properly executed. If the virtual machine is not configured properly, you will be presented with an error stating what is wrong with it.
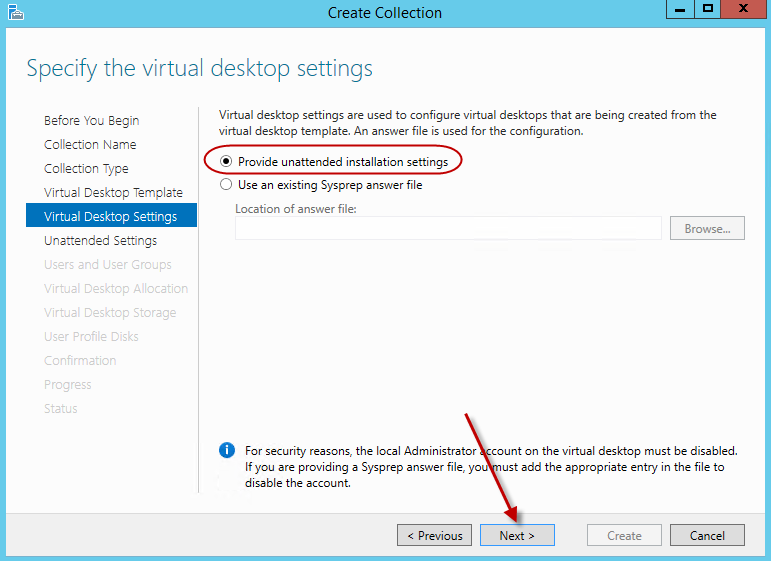
On the specify virtual desktop settings screen, select the option “Provide unattended installation settings” and hit next. Should you have an answer file already prepared, you can browse for it on this screen. Since we do not have an answer file, will provide the installation options within the wizard.
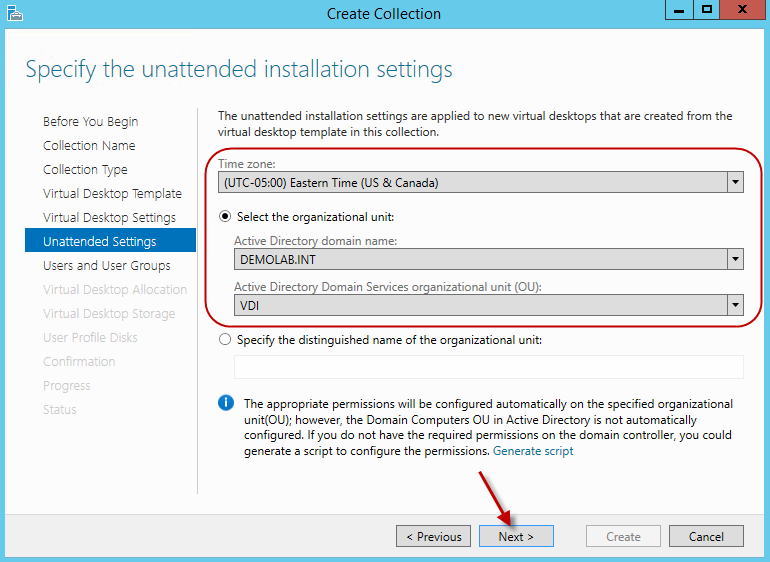
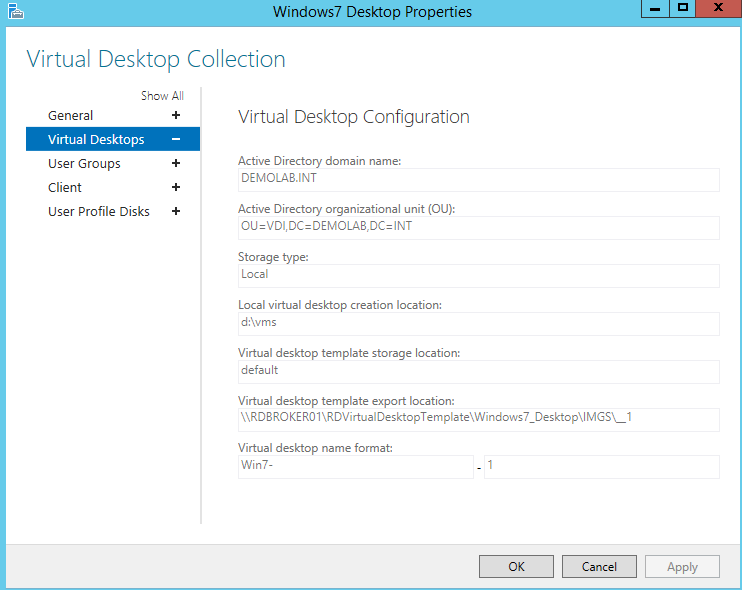
For the unattended installation settings screen, select the appropriate time zone, correct domain, and the designated OU where the virtual machines computer accounts will reside. Hit next.
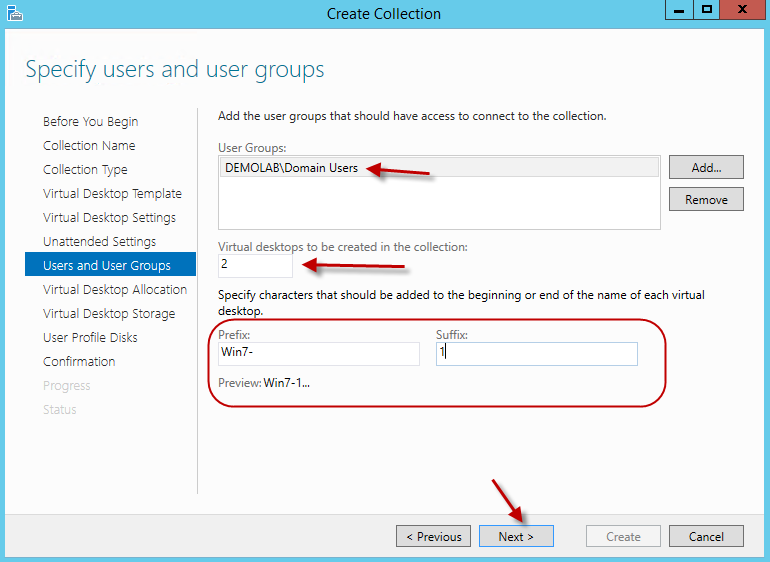
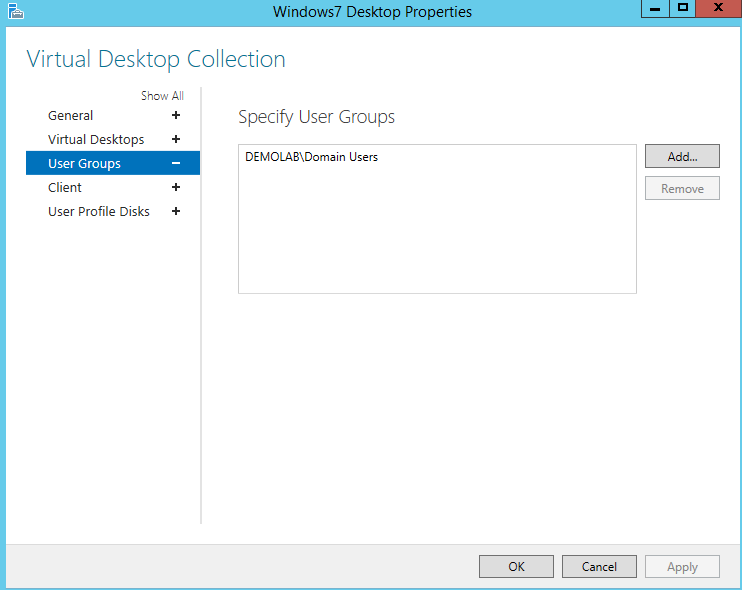
On the specify users and user groups screen, we can add the user group(s) which will have access to the virtual desktop collection. To keep things simple, I’ve added domain users. Here we also need to specify how many desktops we want created along with the naming scheme for the desktops. For this example, I’ve set it to create 2 virtual desktops. As for the naming scheme, I’ve set the prefix to Win7- and the suffix to start with the number 1. This means the desktops will be named Win7-1 and Win7-2. Hit next.
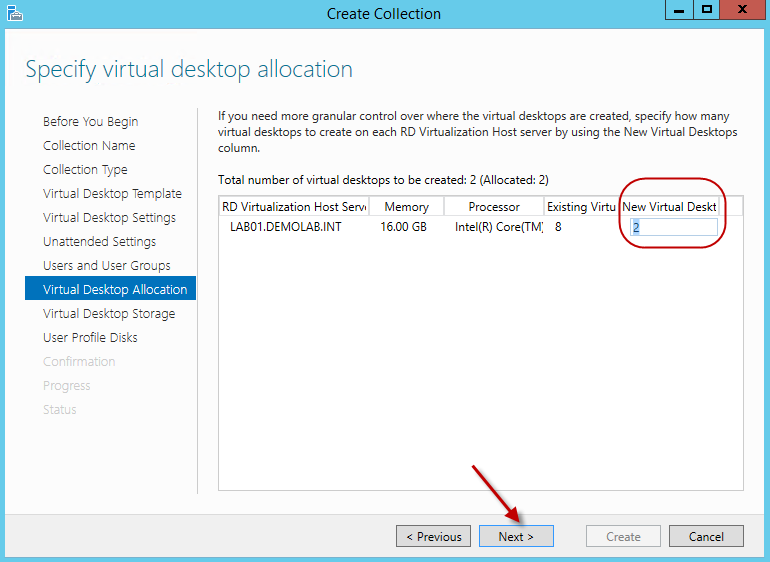
For the Virtual Desktop Allocation screen, here we can specify which hosts we want the virtual machines to reside on. In this example, I only have one virtualization host so there is not much I can change, however if there were multiple virtualization hosts, you can specify how many machines you want created on each host. So if we were creating 100 desktops across 4 RD Virtualization Hosts, we can even out the distribution by putting 25 virtual desktops on each virtualization host. Hit next.
For the Virtual Desktop Storage screen, we can specify the type of storage as well the path where the virtual desktops will be stored. In a production environment, a cluster shared volume will be the best option. Since I am using a single Hyper-V host, I will select the directory where I want the virtual desktops to be stored. I set it to store my machines in the directory D:\VMs. At the bottom of the screen there is a roll back option. Since this is a pooled desktop, we want the virtual desktop to roll back to its previous state when a user logs off. Check this box and hit next.
NOTE: If I had multiple RD Virtualization Hosts which were not part of a cluster, the virtual desktops would be stored in the same directory structure on each individual hosts. However, these virtual desktops when created will be assigned to an individual host since the storage is not shared amongst all hosts. When using multiple hosts, a cluster shared volume is preferred.

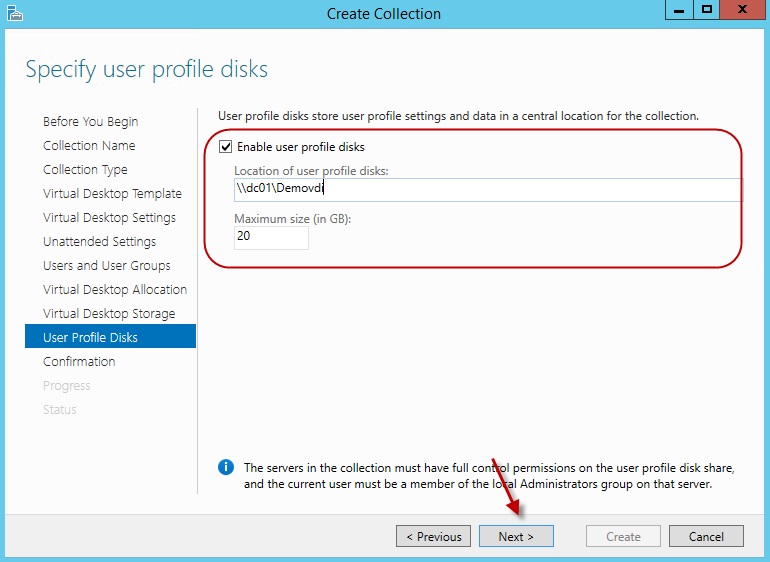
Since we are not using a third party solution to handle user settings, let’s go ahead and enable user profile disks. Specify the correct directory for the profile disks and hit next. Should you use a third party solution to handle user settings (user profiles), deselect the option “Enable user profile disks”. More information on configuring profile disks can be found here.
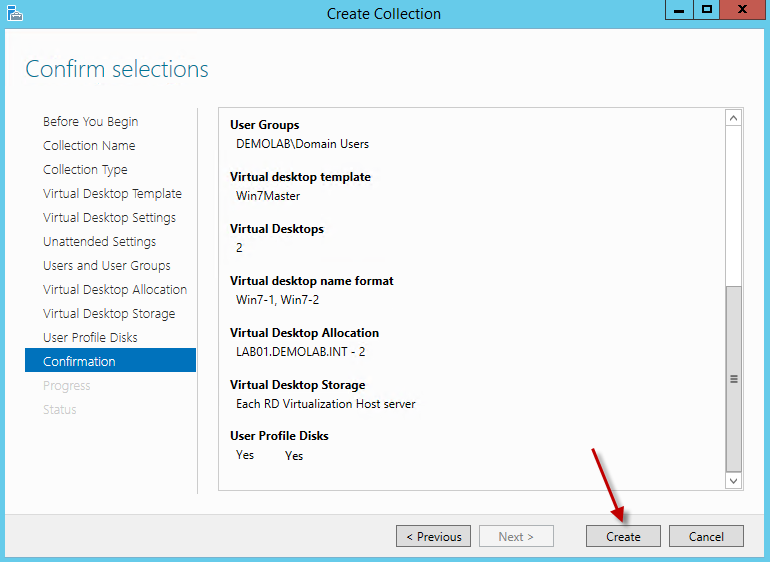
On the confirmation screen, confirm the settings and hit Create.
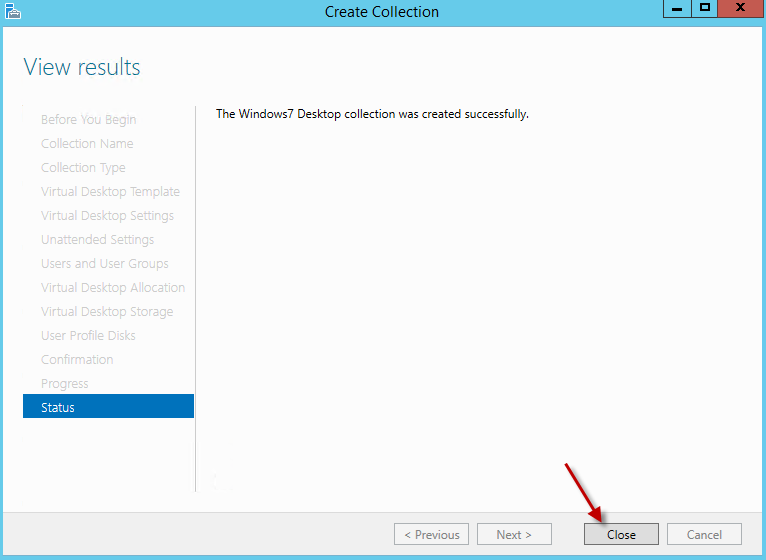
Once completed, hit close.
Now that we have our Virtual Desktop Collection created, let’s look at the environment and see what actually happened.
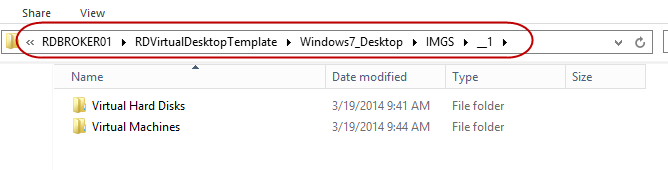
Virtual Desktop Export Location
In Part I, after we deployed out RD Virtualization host, we specified the virtual desktop export location within the RD farm deployment properties. This is where the virtual desktop template is copied. If we browse to the location, we can see the virtual desktop template and its associated files:
New Virtual Machines
If we look at our Hyper-V host, we can see the two new virtual machines (desktops) the wizard created.
![]()
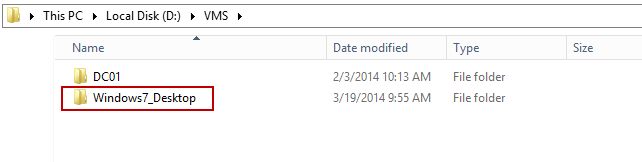
If we browse to the folder location on the Hyper-V host (RD Virtualization Host) where we specified the virtual desktop storage, we see a new folder which matches the name of our Virtual Desktop Collection. Underneath this folder is where the actual virtual machines will reside.

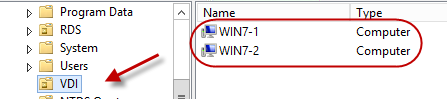
And if we look in our designated Active Directory OU, we see the two new machine accounts created.
Server Manager – RDMS
Within RDMS in Server Manager, we see our new collection. If we select the collection, most of the sections on the screen look the same as the ones previously shown for the traditional RDS collection, but there are a few differences.

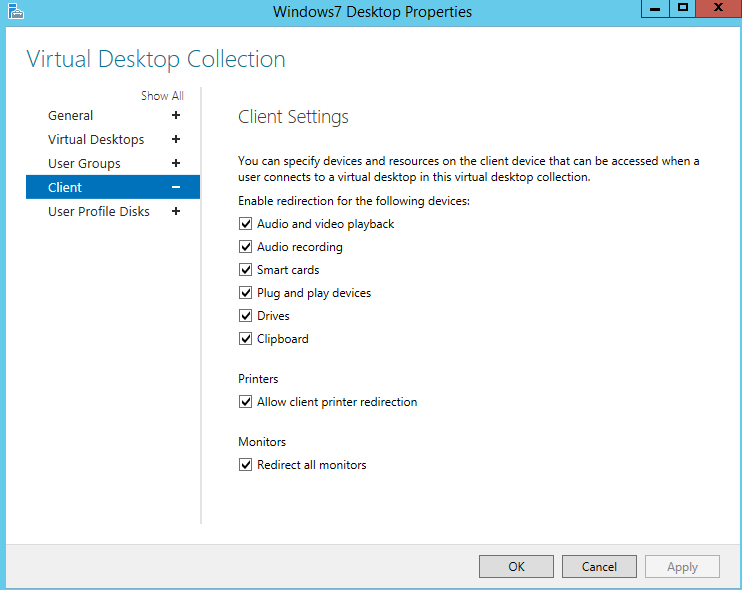
In the properties section, we can see and edit the properties of the collection. Here we have the ability to rename the collection, hide the collection for the RD Web Access server, view the virtual desktop configuration, modify the user groups which have access to the collection, set the client settings, and modify the user profile disks. Here are the screen shots for each of collection properties.

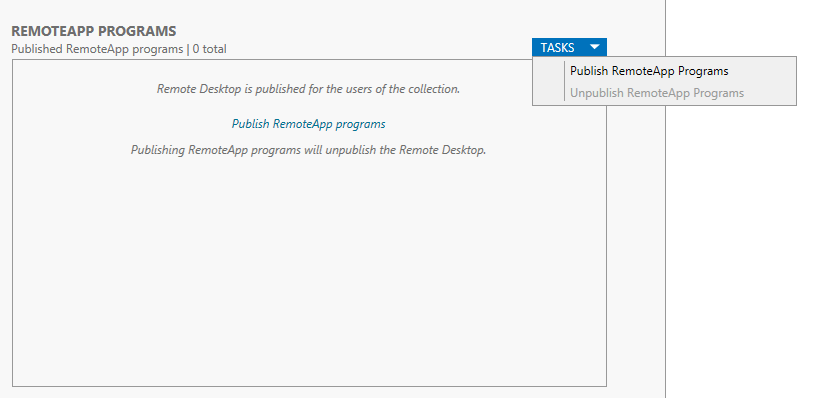
For the RemoteApp Programs section, we can unpublish the virtual desktop and instead publish individual RemoteApp programs which are installed on the virtual desktops. This option could be used for applications which are not compatible to run on a server OS and require a client operating system like Windows 7.
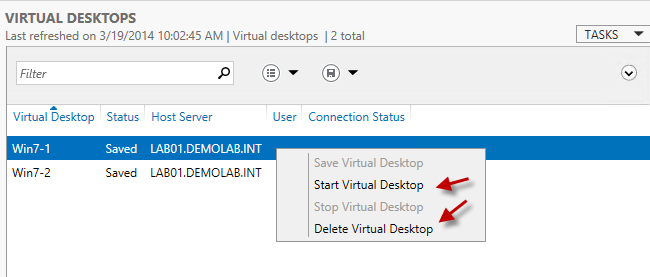
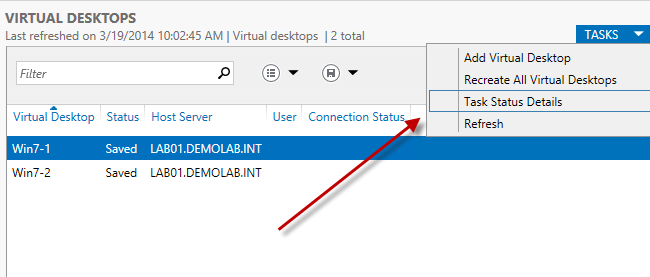
In the Virtual Desktops section we can do many things. We can view who is connected to the virtual desktops, view the state of the virtual desktops, start or stop the desktops, and even delete the desktops. Here we can also recreate the virtual desktops in the event a change is made to the master virtual template. This will be covered in the part III of our VDI deployment.
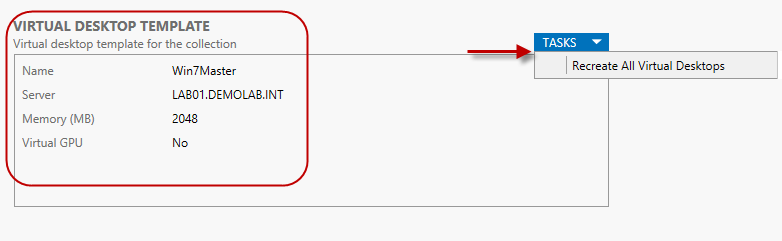
Finally, we have the virtual desktop template section. Here we can see the virtual desktop template which is being used as well can recreate the virtual desktops should we make a change to the virtual desktop template.
And if we log into RD Web Access, we will see our new Windows 7 Virtual Pooled Desktop.
Part III – Updating a Pooled Desktop Image
© 2014 Eddie Kwasnik “the Wolf” All Rights Reserved

#1 by Jess Malipot on August 15, 2014 - 1:36 am
I setup Hyper-V Core 2012 R2 as my virtualization host. The template I created on Hyper-V Host does not appear on the virtual desktop. Actually non of the VMs I created on Hyper-V host apears on list of virtual desktop template when creating VDI collection.
Any reason for this?
#2 by Eddie Kwasnik on August 15, 2014 - 12:23 pm
I did run into that same issue once and in my case it was a connectivity issue between my broker and virtualization host. Can you check the event viewer on the Hyper-V host to see if anything is listed for this issue. You can look under: TerminalServices-TSV-VMHostAgent
#3 by rafa on November 26, 2015 - 5:35 am
First of all, thanks for this good article. My question is, in the case of 2 clustered hyperV (RD Virtualization hosts) with CSV, and the Web Access & Connection Broker installed in another server (not member of cluster), how can we store the pooled collection in this CSV Volume ?
#4 by Jeff Gibson on February 8, 2017 - 5:45 pm
Very new to the RDS system used by Server 2012 R2 vs the method employed by Server 2008 so pardon if this question should be obvious. I am currently creating the VDI template using Windows 7 Pro (older OS but my user base is older reps that aren’t ready for the newer OS’s). Once the applications I want are all installed, does the VM need to be attached to the domain/active directory before running sysprep? Or will the domain attachment occur once the VM’s are created from the template? Thanks.